目を惹くあしらいで比較的よく使われる斜めストライプ。
見出しなどに使うとシンプルでありながらモダンで洗練された印象を与えることができますよね。
ただCSSで作ると左端と右端に小さなストライプが入りなかなか綺麗なストライプにならなかったりします。
今回は斜めストライプを作る際のNGパターンとOKパターンを比較しながら実装方法について解説していきます。
NGパターン

<h2>CSSでつくる見出しデザイン</h2>
h2 {
  background-image:
    repeating-linear-gradient(-45deg,
      transparent 0 4px, #2ebadd 4px 8px);
  background-repeat: no-repeat;
  background-size: 100% 1rem;
  background-position: left -5px bottom 5px;
  color: #353535;
  font-weight: bold;
  font-size: 26px;
}
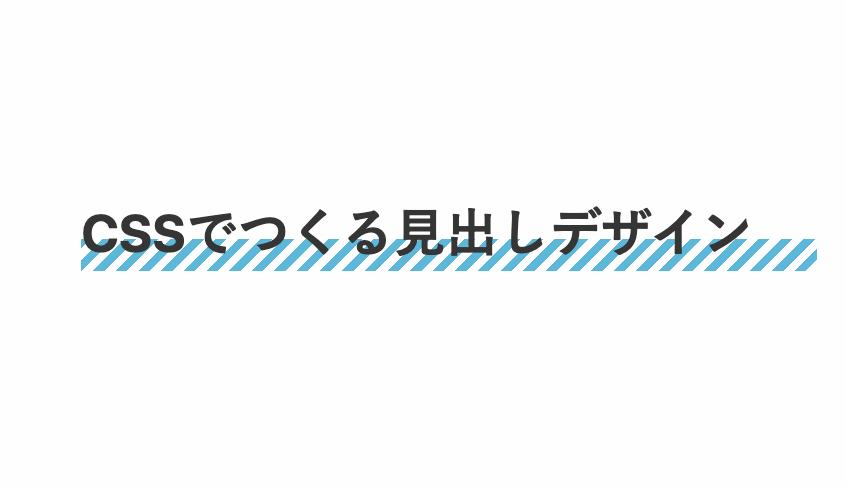
「background-image」の「repeating-linear-gradient」内の角度指定で「-45deg」を指定してしまうパターン。
これだと左右の端に小さな斜めストライプが入ってしまうことが多い。
OKパターン - STEP1

h2 {
  position: relative;
  color: #353535;
  font-weight: bold;
  font-size: 26px;
}

h2::before {
  position: absolute;
  left: -5px; bottom: 5px;
  width: 100%; height: 15px;
  background-image:
    repeating-linear-gradient(90deg,
        transparent 0 5px, #2ebadd 5px 10px);
  content: '';
  z-index: -1;
}
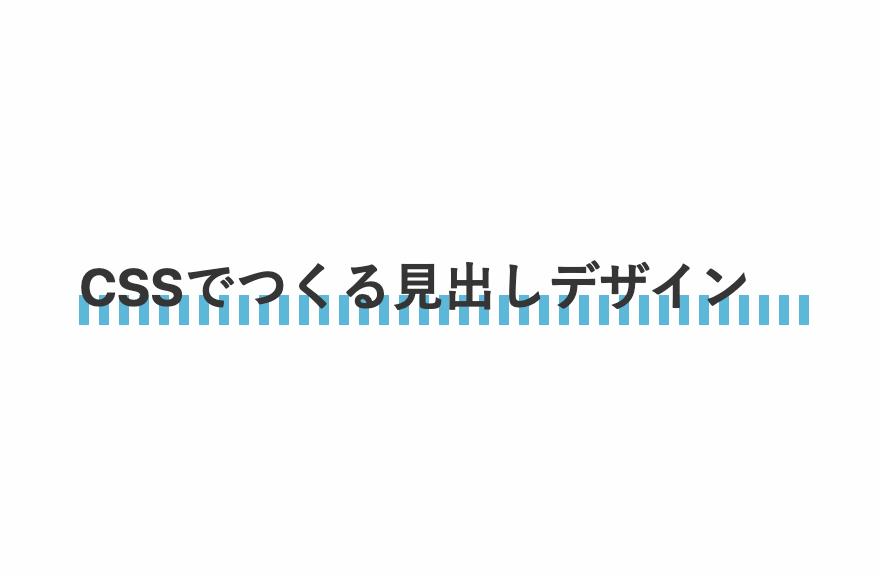
「before擬似要素」を指定し「repeating-linear-gradient」内の角度「90deg」にします。
OKパターン - STEP2

h2 {
  position: relative;
  color: #353535;
  font-weight: bold;
  font-size: 26px;
}

h2::before {
  position: absolute;
  left: -5px; bottom: 5px;
  width: 100%; height: 15px;
  background-image:
    repeating-linear-gradient(90deg,
        transparent 0 5px, #2ebadd 5px 10px);
  /* 以下を追加 */
  transform:skew(-45deg);
  content: '';
  z-index: -1;
}
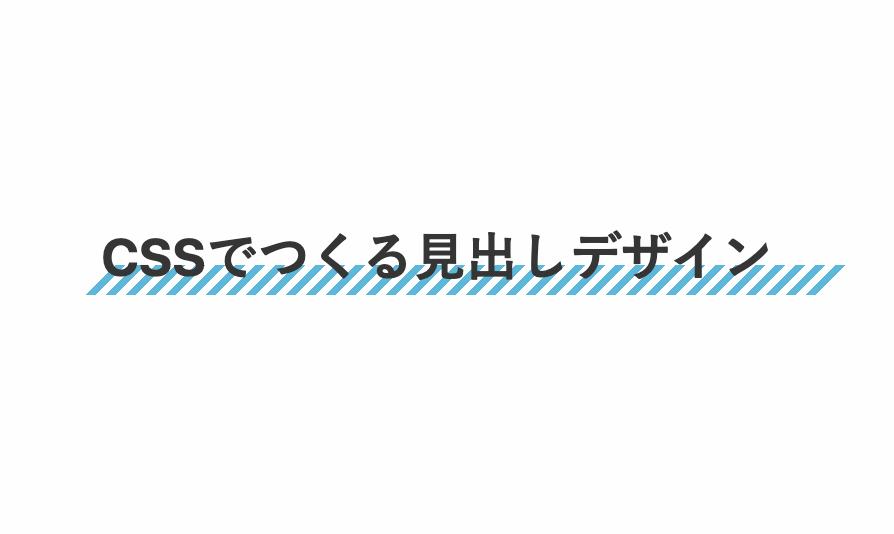
「transform:skew(-45deg);」を追加し要素ごと斜めにすると綺麗な斜めストライプを作ることができます。
全てのコード
コードを表示
<h2>CSSでつくる見出しデザイン</h2>
h2 {
    position: relative;
    padding: 0.7rem 0;
    margin-bottom: 0.2rem;
    color: #353535;
    font-weight: bold;
    font-size: 26px;
}

h2::before {
    position: absolute;
    left: -5px;
    bottom: 5px;
    width: 100%;
    height: 15px;
    transform: skew(-45deg);
    background-image: repeating-linear-gradient(90deg, transparent 0 5px, #2ebadd 5px 10px);
    content: '';
    z-index: -1;
}HTML・CSSのカスタマイズや動作確認ができます


