今回はbefore疑似要素を使用し囲み枠の一部を吹き出しにする方法について解説します。
吹き出し口を単純に矢印型の三角にするのではなく、線にすることで今っぽいあしらいになります。
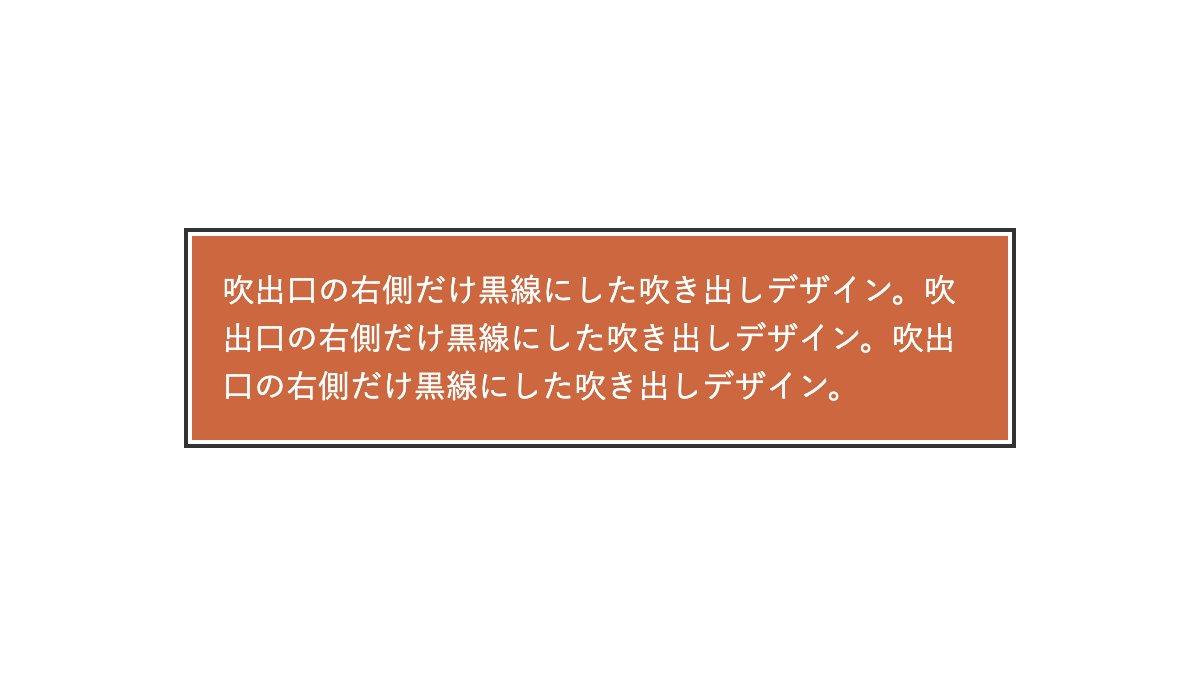
少し間隔を空けた境界線をひく

「outline-offset」を指定して背景と境界線の間を少し空けます。
<div class="box">
    <p>吹出口の右側だけ黒線...</p>
</div>
.box {
    position: relative;
    padding: 15px;
    outline: 2px solid #333;
    outline-offset: 2px;
    background: #CC6740;
    color: #333;
}
.box p {
    color: white;
    line-height: 1.5;
}
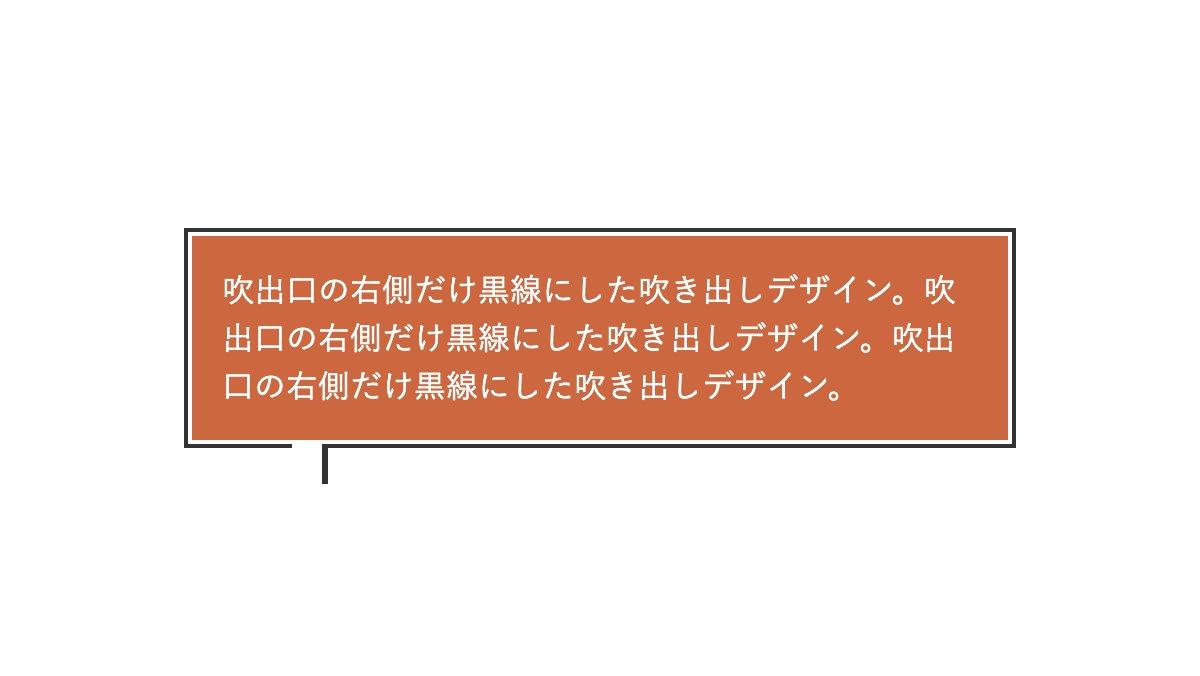
吹出口を作る

before疑似要素の「top」「left」で吹出口の位置を調整。「background-color」で背景を白くして「border-right」で右側だけ実線を引きます。
<div class="box">
    <p>吹出口の右側だけ黒線...</p>
</div>
.box {
    position: relative;...
}
.box:before {
    position: absolute;
    top: calc(100% + 2px);
    left: 50px;
    height: 20px;
    width: 15px;
    background-color: white;
    border-right: 3px solid #333;
    content: "";
}
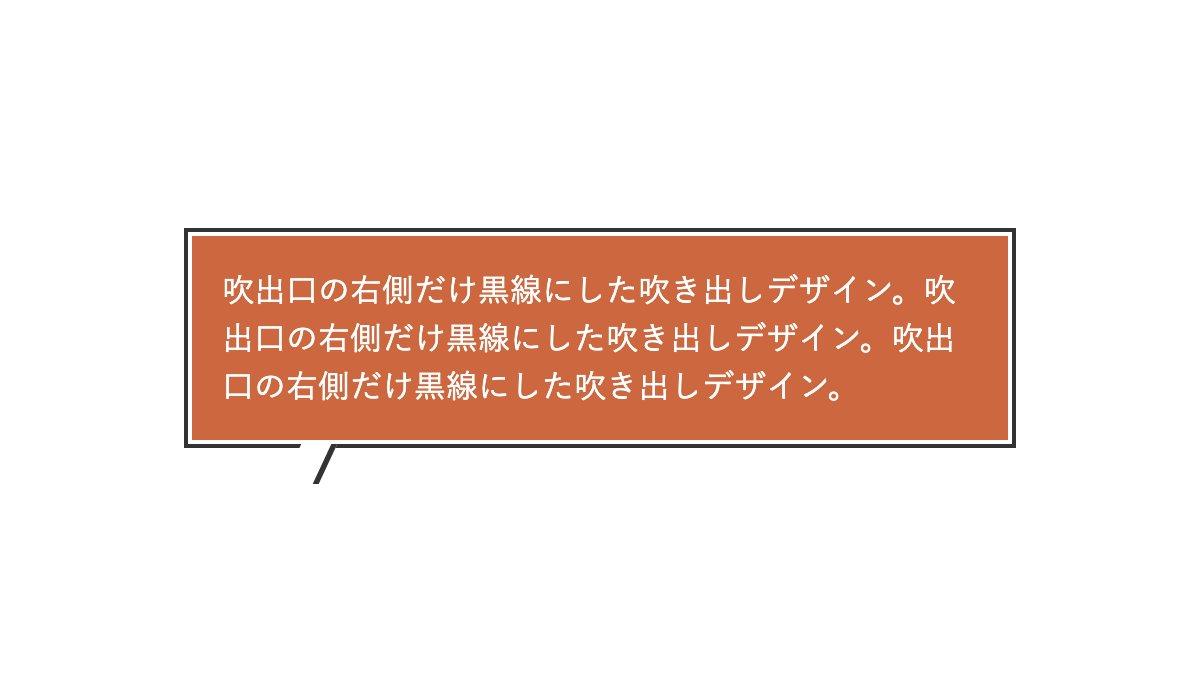
吹出口を斜めに傾ける

before疑似要素に「transform: skew(-25deg);」を指定し吹出口を斜めに傾けて完成。
<div class="box">
    <p>吹出口の右側だけ黒線...</p>
</div>
.box {
    position: relative;...
}
.box:before {
    transform: skew(-25deg);
    ...
}
全てのコード
コードを表示
<div class="box">
    <p>吹出口の右側だけ黒線にした吹き出しデザイン。吹出口の右側だけ黒線にした吹き出しデザイン。吹出口の右側だけ黒線にした吹き出しデザイン。</p>
</div>
.box {
    position: relative;
    padding: 15px;
    outline: 2px solid #333;
    outline-offset: 2px;
    background: #CC6740;
    color: #333;
}

.box:before {
    position: absolute;
    top: calc(100% + 2px);
    left: 50px;
    transform: skew(-25deg);
    height: 20px;
    width: 15px;
    background-color: white;
    border-right: 3px solid #333;
    content: "";
}

.box p {
    color: white;
    line-height: 1.5;
}HTML・CSSのカスタマイズや動作確認ができます


