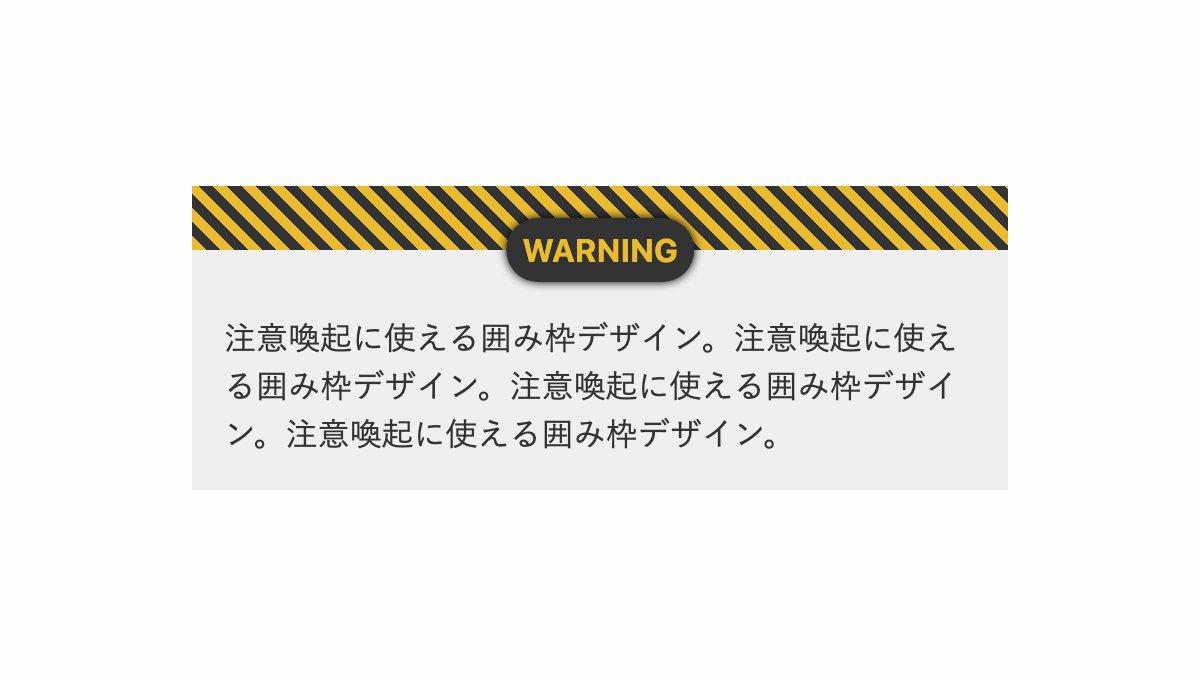
囲み枠の上部にストライプとタイトルを入れる方法について解説します。
「repeating-linear-gradient」と「before疑似要素」を使用し実装しています。
重要な通知や注意・警告メッセージ、フォーム入力などに活用してみてください。
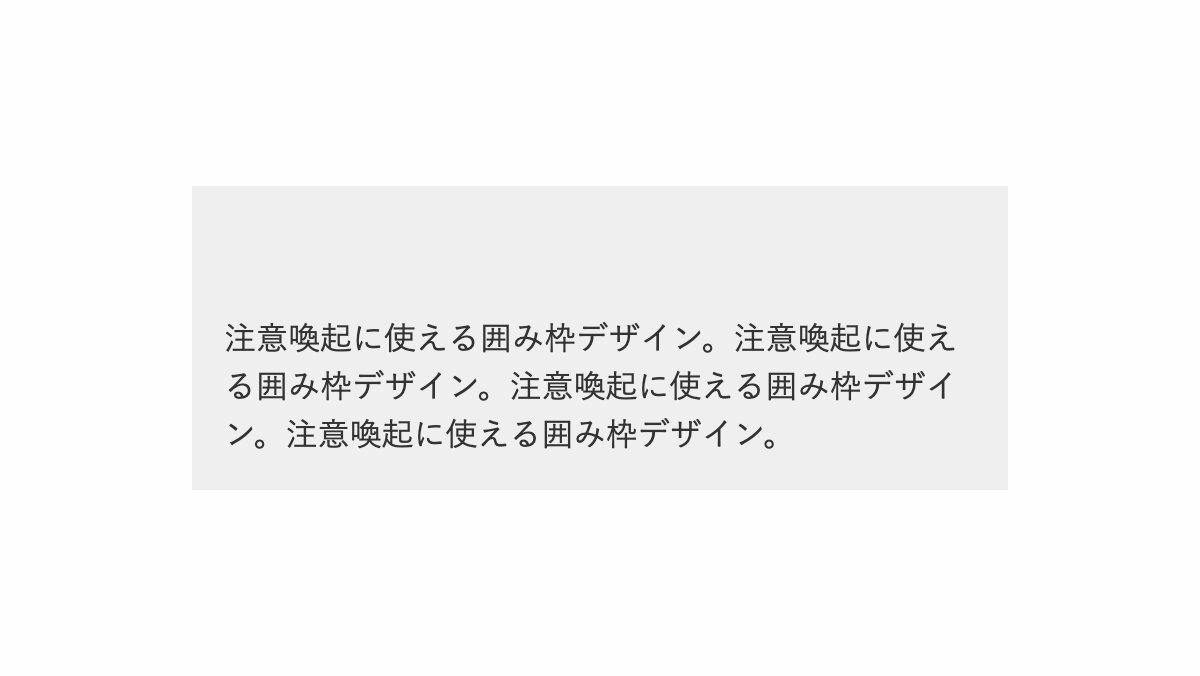
上部に余白をつくる

「padding」で上部に4remの余白を入れます。
<div class="box" data-title="warning">
    <p>注意喚起に使える囲み枠デザイン...</p>
</div>
.box {
    position: relative;
    padding: 4rem 1rem 1rem;
    background-color: #efefef;
}

.box p {
    color: #333;
    line-height: 1.5;
}
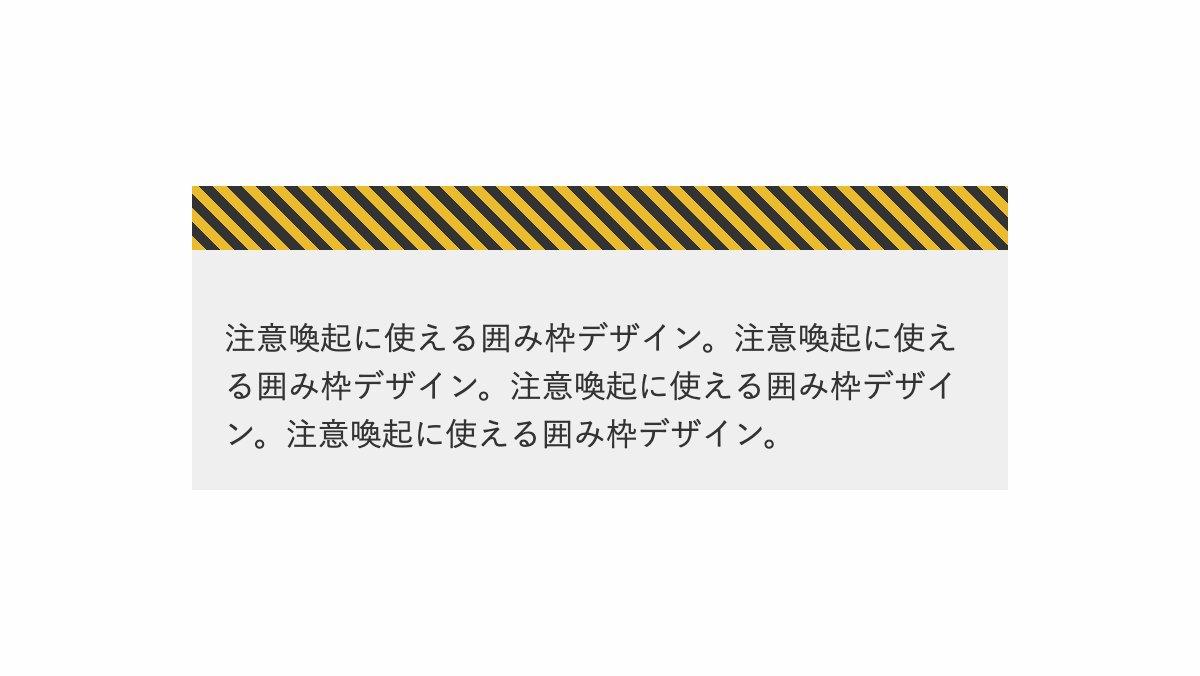
黄色と黒の斜めストライプを入れる

「repeating-linear-gradient」で斜めストライプを入れ、「background-position」で上部に配置。「background-size」で高さを2remに設定。
.box {
    position: relative;
    padding: 4rem 1rem 1rem;
    background-color: #efefef;
    background-image:
      repeating-linear-gradient(
          45deg,
          #EBBB2F 0 5px,
          #333 5px 10px
      );
    background-position: top;
    background-size: 100% 2rem;
    background-repeat: no-repeat;
}
「WARNING」タイトルを入れる

before疑似要素で「top、left、translateX」を調整し中央に配置。「border-radius」で角丸にし「content」の「attr」関数で「data-title」属性値を設定しています。
<div class="box" data-title="warning">...box{...}
.box::before {
position: absolute;
top: 1rem;
left: 50%;
transform: translateX(-50%);
padding: 0.5rem;
border-radius: 30px;
background-color: #333;
box-shadow: 0 0 5px black;
color: #EBBB2F;
text-align: center;
text-transform: uppercase;
font-weight: bold;
content: attr(data-title);
}全てのコード
コードを表示
<div class="box" data-title="warning">
    <p>注意喚起に使える囲み枠デザイン。注意喚起に使える囲み枠デザイン。注意喚起に使える囲み枠デザイン。注意喚起に使える囲み枠デザイン。</p>
</div>
.pic-background {
background-image: var(--pic-image-data, none);
background-size: cover;
background-position: center;
}
.box {
position: relative;
padding: 4rem 1rem 1rem;
background-color: #efefef;
background-image: repeating-linear-gradient(45deg, #EBBB2F 0 5px, #333 5px 10px);
background-position: top;
background-size: 100% 2rem;
background-repeat: no-repeat;
}
.box::before {
position: absolute;
top: 1rem;
left: 50%;
padding: 0.5rem;
transform: translateX(-50%);
border-radius: 30px;
background-color: #333;
box-shadow: 0 0 5px black;
color: #EBBB2F;
text-align: center;
text-transform: uppercase;
font-weight: bold;
content: attr(data-title);
}
.box p {
color: #333;
line-height: 1.5;
}
このWEBパーツを確認する
HTML・CSSのカスタマイズや動作確認ができます


